Growing herbs indoors can be a fun and rewarding way to add fresh flavour to your meals year-round. While starting herb plants from seed may seem daunting, with the right tools and techniques, it can be a simple and enjoyable process. In this article, we will go over the steps for managing seedlings for indoor herb plants, including selecting the right seeds, planting and germination, caring for seedlings, and transplanting to larger pots.
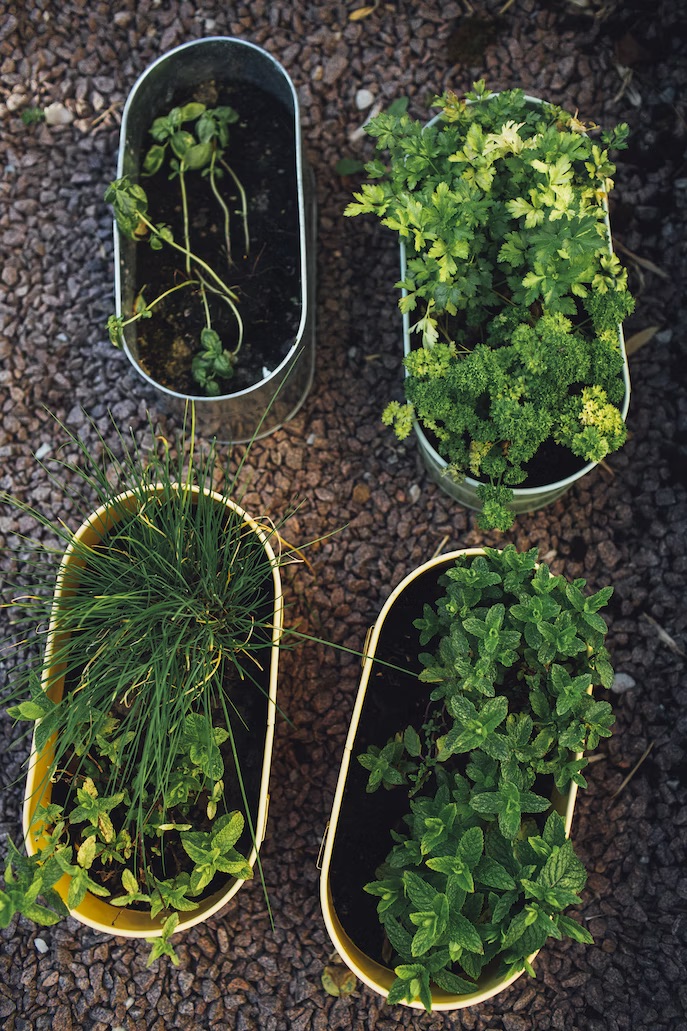
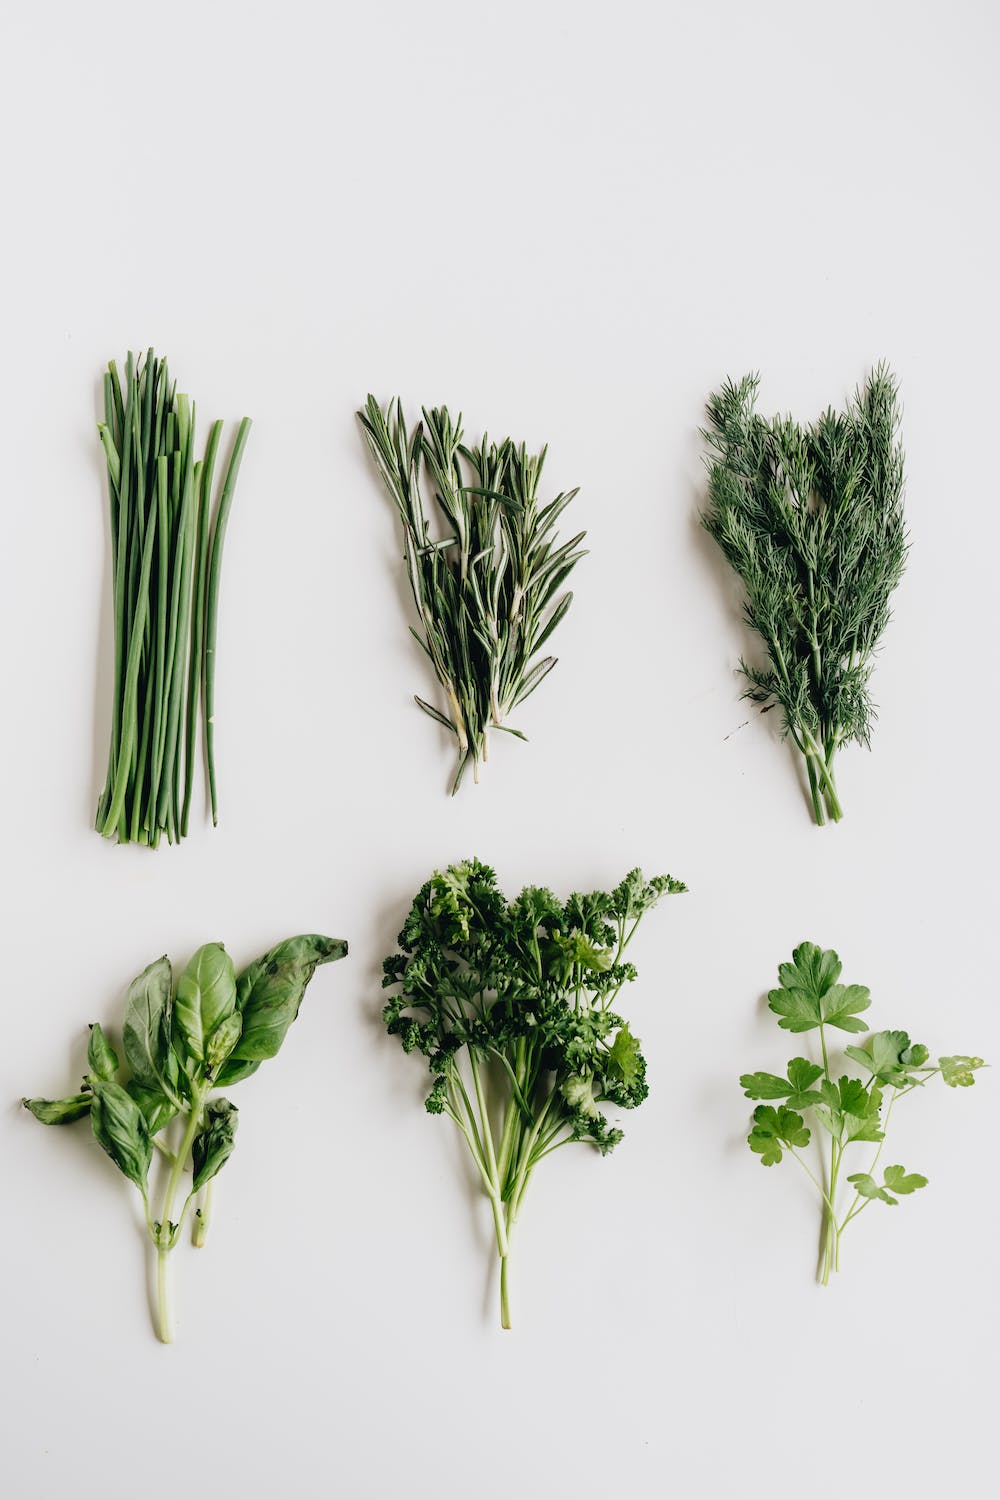
Table of Contents
Selecting the Right Seeds
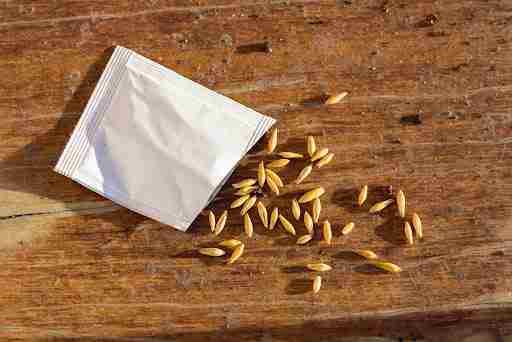
Before you can begin growing indoor herb plants, you must first select the right seeds. When choosing seeds, it’s important to consider the space you have available for growing and the specific herbs you want to grow. Some herbs, like basil, mint, and chives, are easy to grow from seed and do well in small pots, while others, like rosemary and lavender, prefer larger pots and more space to grow. Additionally, you’ll want to consider the amount of light your plants will receive, as some herbs require more light than others.
When selecting seeds, look for packets labeled “organic” or “non-GMO” to ensure that you’re starting with high-quality seeds that are free from harmful chemicals. Many seed suppliers also offer a variety of herb seed mixes, which can be a great way to experiment with different types of herbs.

Planting and Germination
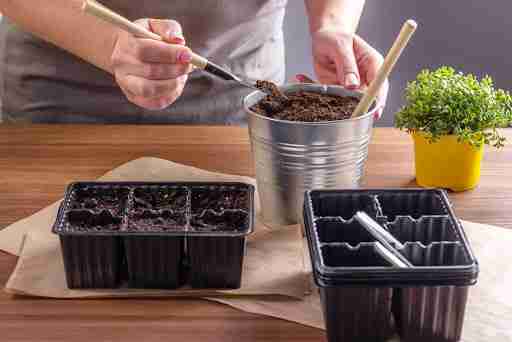
Once you have your seeds, it’s time to start planting. Begin by filling a small seedling tray or individual pots with potting soil. It’s important to choose a soil that is specifically formulated for seed starting, as it will provide the right nutrients and moisture levels for your seeds to germinate and grow.
Next, sow your seeds according to the instructions on the seed packet. Some seeds, like basil and chives, can be sprinkled directly on top of the soil, while others, like parsley and cilantro, should be planted slightly below the surface. Once you’ve planted your seeds, gently water the soil until it’s evenly moist.
To encourage germination, cover your seedling tray or pots with a clear plastic dome or plastic wrap. This will help to trap moisture and create a mini-greenhouse environment that will promote seedling growth. Place your seeds in a warm, sunny location or under grow lights, and check regularly to ensure that the soil stays moist.
Caring for Seedlings
Once your seeds have germinated and sprouted, it’s important to provide them with proper care to ensure that they continue to grow strong and healthy. Here are some tips for caring for your indoor herb seedlings:
Provide Adequate Light
Herbs require plenty of light to grow, so make sure that your seedlings are getting at least 12 hours of bright, direct light each day. If you don’t have access to a sunny windowsill, consider investing in grow lights, which can provide the full spectrum of light that your seedlings need to thrive.
Water Regularly
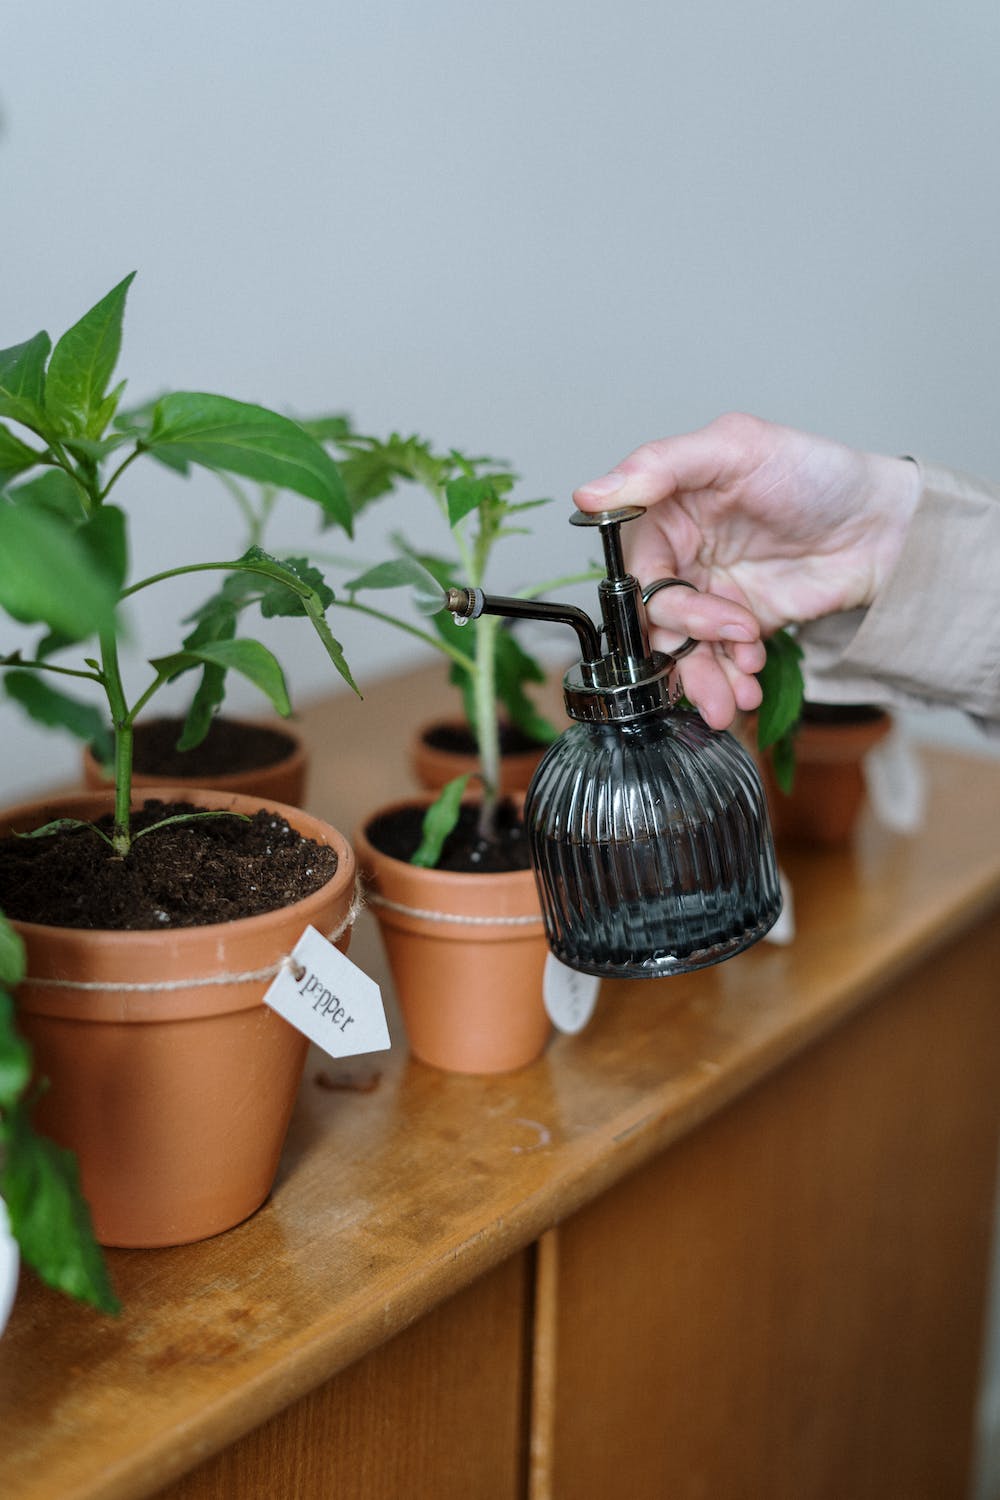
Seedlings require consistent moisture to grow, so water your plants regularly, keeping the soil evenly moist but not waterlogged. To avoid overwatering, wait until the top part of the soil feels dry to the touch before watering again.
Provide Adequate Airflow
Proper airflow is important for preventing diseases and promoting healthy growth. Use a fan or open a nearby window to ensure that your plants are getting plenty of fresh air.
Fertilise Occasionally
While seed starting soil is formulated to provide the nutrients your seedlings need to germinate, they will eventually need additional nutrients to continue growing. Consider adding a light dose of organic fertiliser once a month to help your plants thrive.
Transplanting to Larger Pots
As your seedlings continue to grow, they will eventually outgrow their starter pots and need to be transplanted to larger containers. This is an important step in managing seedlings for indoor herb plants, as it will provide your plants with more space to grow and develop stronger root systems. Here are the steps to transplant your indoor herb seedlings to larger pots:
Choose the Right Pot
When selecting a pot for transplanting, choose one that is slightly larger than your current pot, with good drainage holes. It’s important not to choose a pot that is too large, as this can lead to overwatering and root rot.
Prepare the Soil
Before transplanting, prepare the soil by filling the new pot with fresh potting soil. Make sure that the soil is moist and fluffy, and add a light dose of organic fertiliser to provide your plants with the nutrients they need to continue growing.
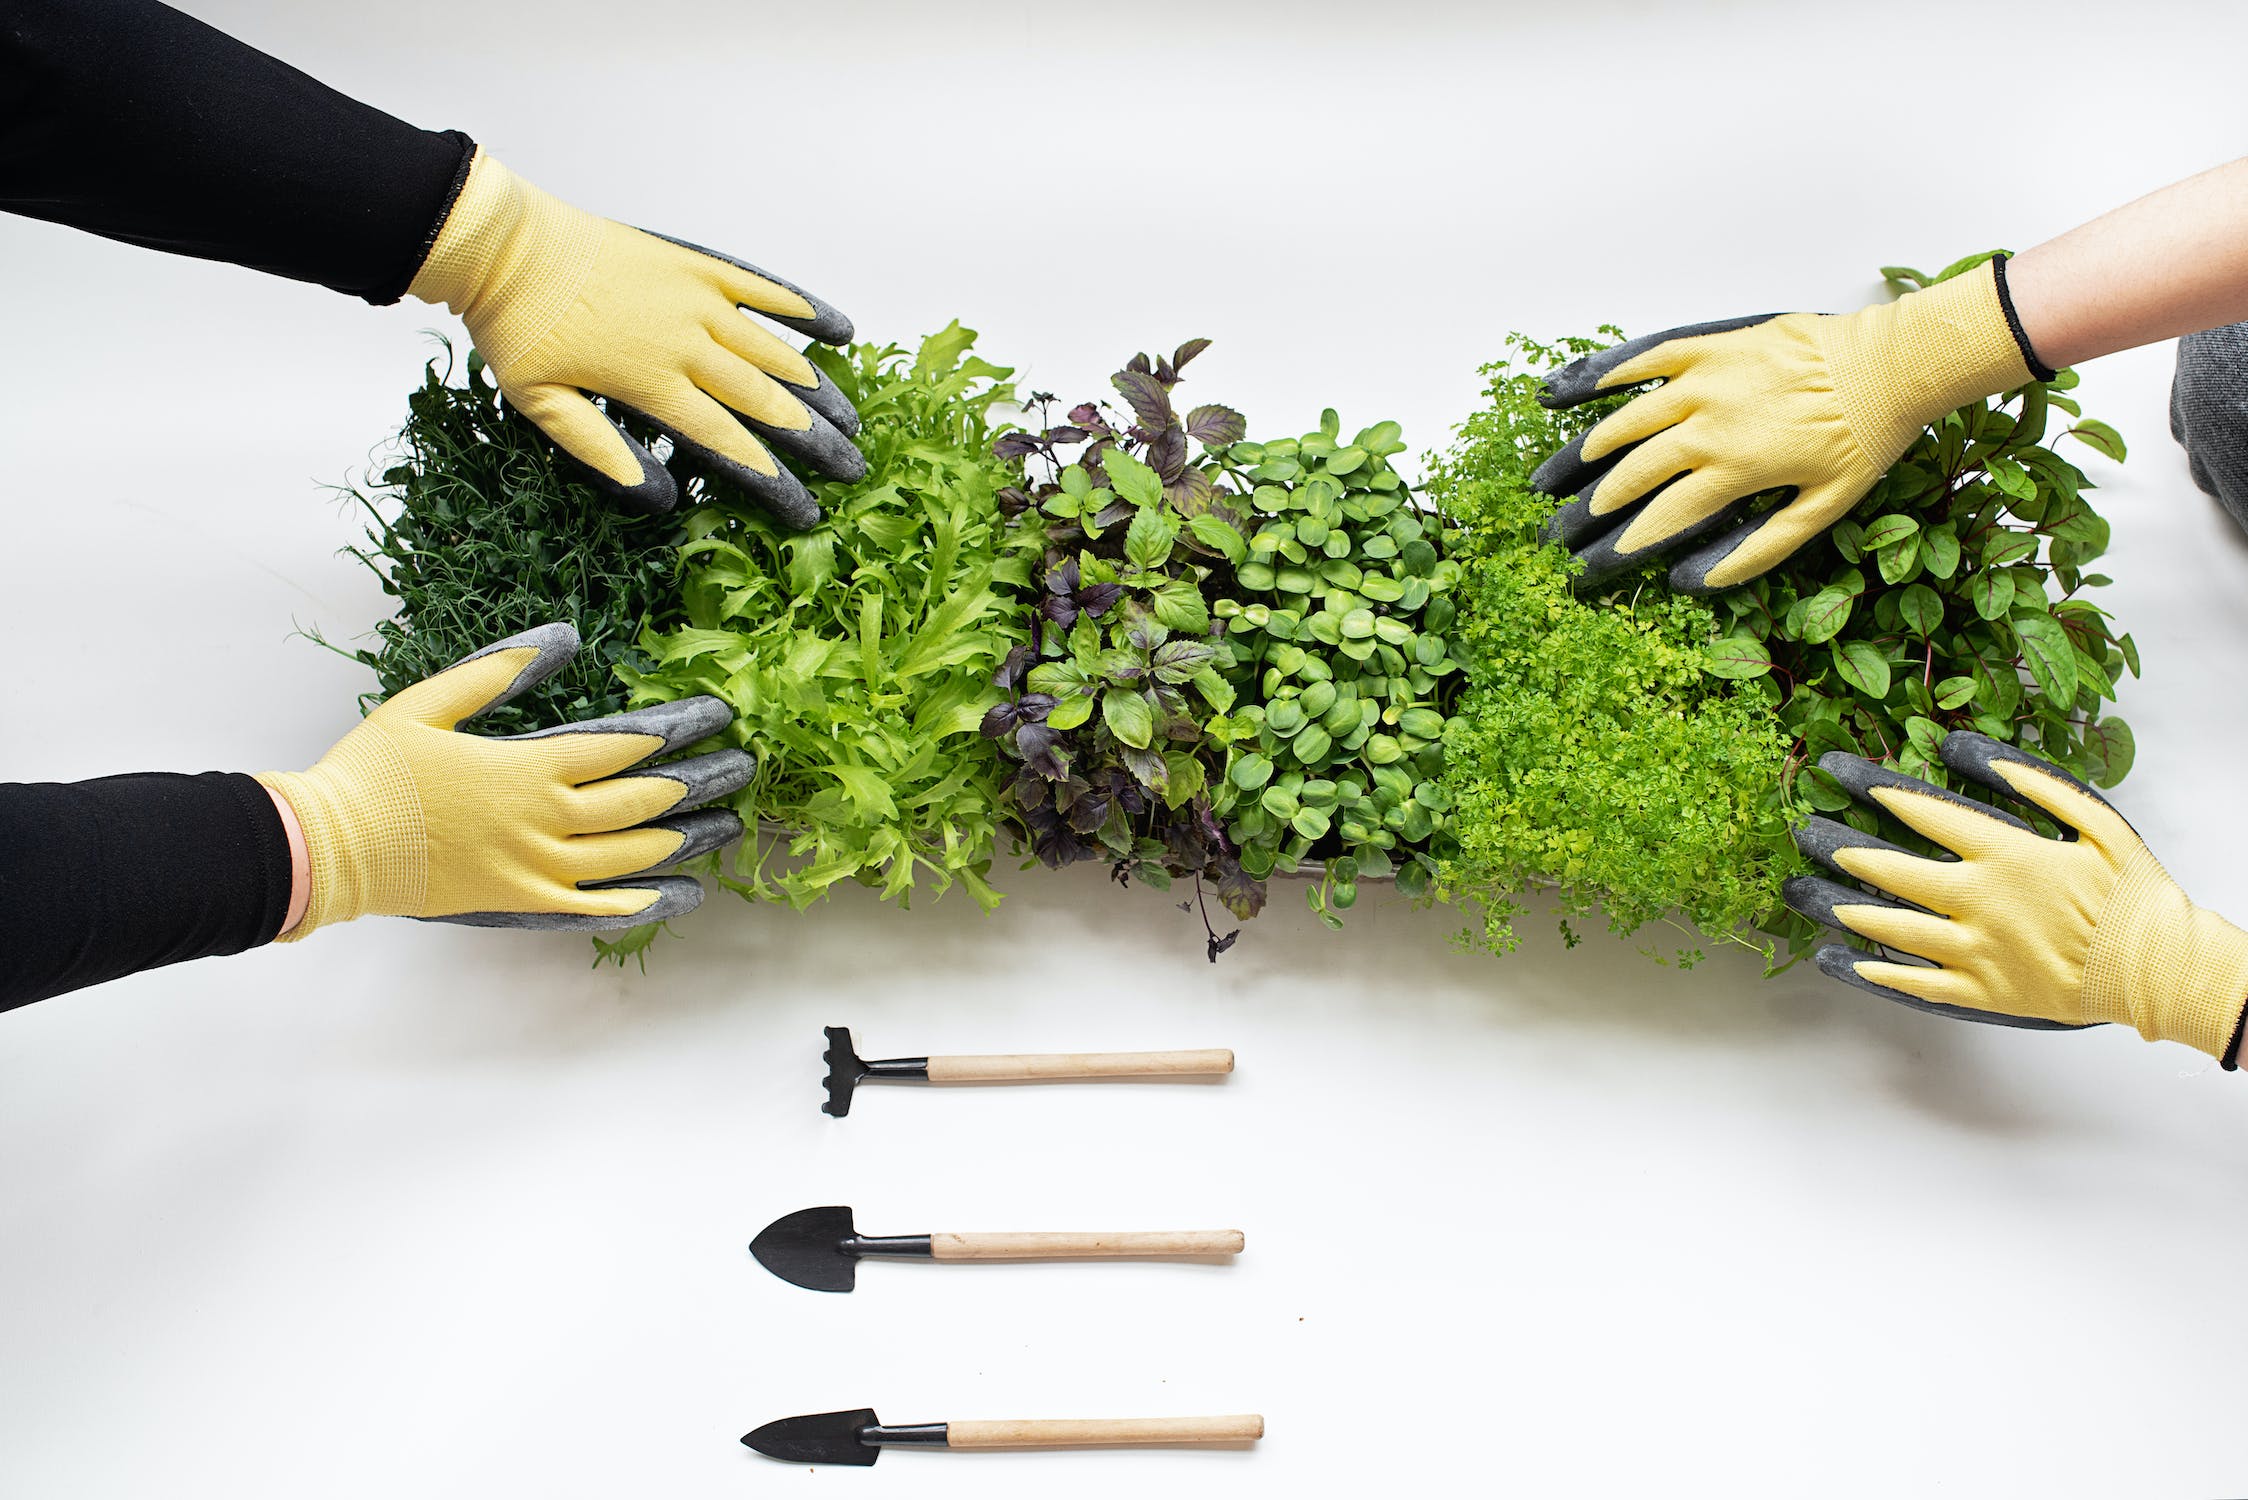
Gently Remove Seedlings
To remove your seedlings from their current pots, gently loosen the soil around the base of the plant with your fingers or a small garden trowel. Hold the plant gently by the stem, and carefully lift it out of the pot, being sure to avoid damaging the delicate roots.
Place in New Pot
Once you have removed your seedlings from their current pots, place them in their new pots, and fill in any gaps with fresh potting soil. Be sure to plant your seedlings at the same depth as they were in their previous pots.
Water and Place in Sunny Location
After transplanting, water your plants well, being sure to avoid overwatering. Place your plants in a sunny location, and continue to provide them with proper care to ensure that they continue to grow strong and healthy.
Conclusion
Managing seedlings for indoor herb plants can be a fun and rewarding way to add fresh flavor to your meals year-round. By selecting the right seeds, planting and germinating properly, caring for your seedlings, and transplanting to larger pots, you can enjoy a bountiful harvest of fresh herbs right from your windowsill. Remember to provide your plants with adequate light, water, and nutrients, and be sure to monitor their growth regularly to ensure that they continue to thrive. With a little patience and care, you’ll be enjoying the delicious taste and aroma of fresh herbs in no time.