Chives are a versatile and easy-to-grow herb that can add flavor and color to a variety of dishes. While they are typically grown outdoors in a garden or container, they can also be grown indoors, making them a great option for anyone with limited outdoor space or for those who want to enjoy fresh herbs year-round. In this article, we’ll explore how to grow chives indoors, from choosing the right container and soil to caring for your plants and harvesting your herbs.
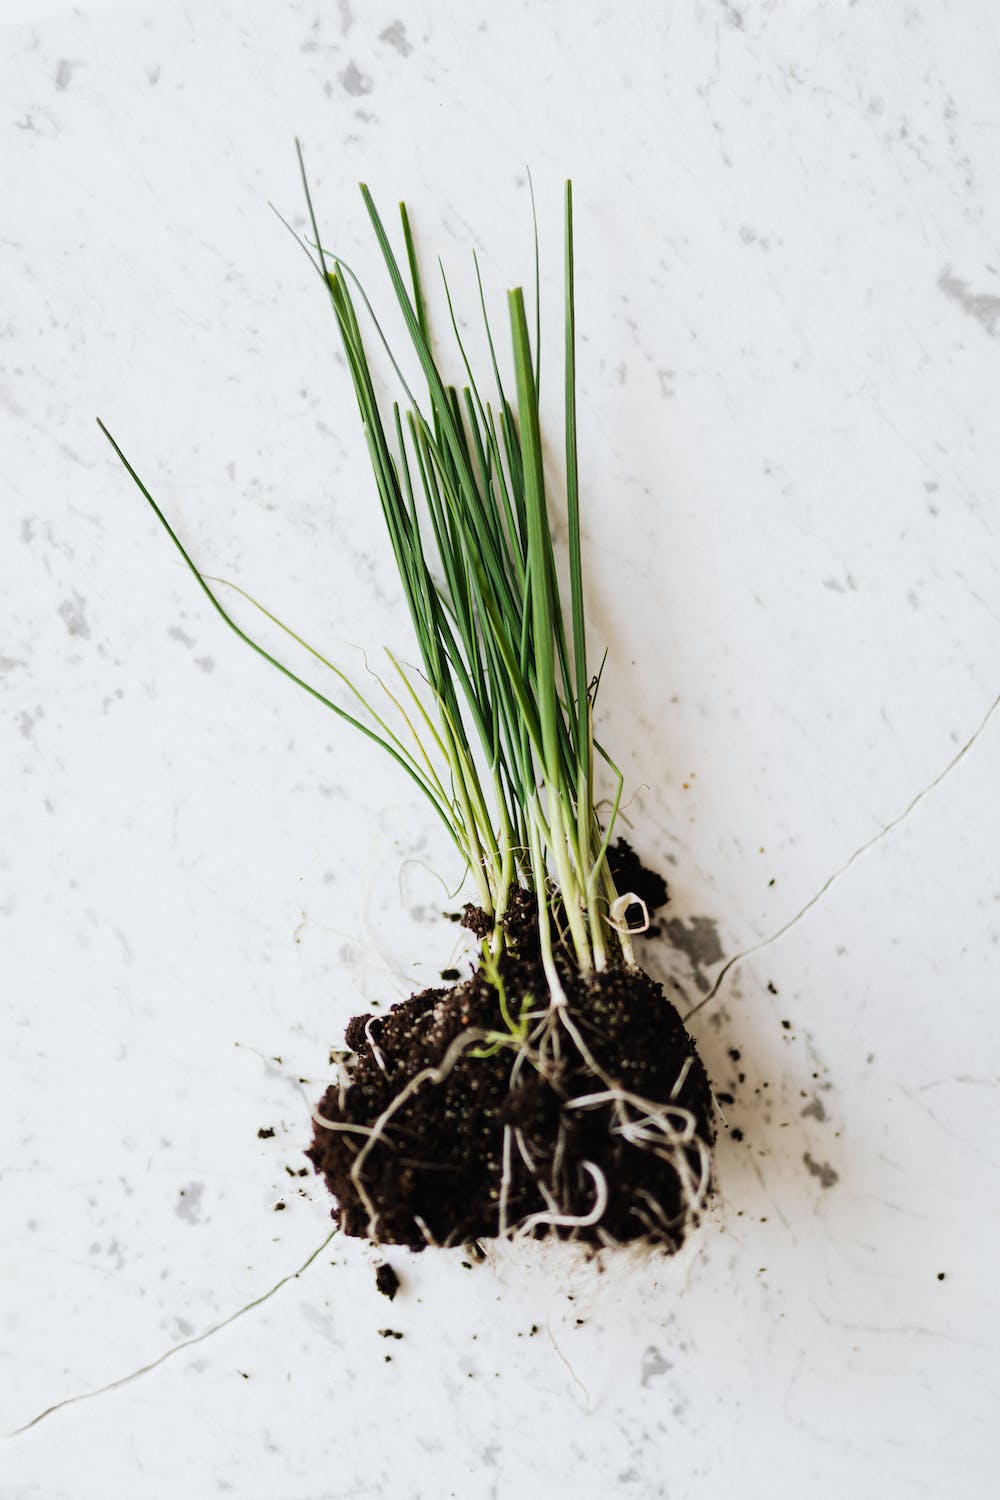
Table of Contents
Choosing the Right Container
When it comes to growing chives indoors, choosing the right container is essential. While you can use any type of container that is at least 6 inches deep, it’s important to choose a pot that has good drainage. This will help prevent water from accumulating at the bottom of the pot, which can lead to root rot.
Another important consideration when choosing a container is size. Chives can grow to be quite tall, so you’ll want to choose a pot that is at least 12 inches (30 centimeters) deep to allow for plenty of root space. You’ll also want to make sure that the pot is wide enough to accommodate multiple plants, as chives tend to grow in clumps.
Finally, consider the material of the container. While plastic or ceramic pots are a popular choice, they can retain moisture and may not be as breathable as other materials. Terra cotta pots, on the other hand, are a great option as they are porous and allow for air flow, which can help prevent overwatering and ensure that your chives stay healthy.
Choosing the Right Soil
Once you’ve chosen your container, it’s time to think about soil. When it comes to growing chives indoors, you’ll want to choose a high-quality potting mix that is well-draining and rich in organic matter. You can purchase pre-made potting mixes at your local garden center or make your own by combining equal parts peat moss, vermiculite or perlite, and compost. Before planting your chives, be sure to moisten your potting mix to make it easier to work with. You can do this by adding water to the mix until it is damp but not soggy.
Planting Your Chives
Once you have your container and soil, it’s time to plant your chives. Start by filling your container with your moistened potting mix, leaving about an inch (2.5 centimeters) of space at the top. Next, make a small indentation in the soil with your finger and place your chive plant in the hole, making sure that the base of the plant is level with the surface of the soil.
If you’re planting multiple chive plants, be sure to space them at least 4 inches (10 centimeters) apart to allow for proper growth. You can also plant chive seeds by scattering them over the surface of the soil and covering them with a thin layer of potting mix.
Once your chives are planted, water them thoroughly, making sure that the soil is evenly moist but not waterlogged. Chives prefer slightly moist soil, so be sure to check the moisture level of your soil regularly and water as needed.
Caring for Your Chives
Growing chives indoors is relatively low-maintenance, but there are a few things you can do to ensure that your plants stay healthy and productive.
Light and Water
Chives require at least six hours of direct sunlight per day, so be sure to place your container in a sunny window or under a grow light. If you don’t have a sunny window, you can use a fluorescent grow light to provide the necessary light. Chives prefer slightly moist soil, so be sure to water your plants regularly, allowing the soil to dry out slightly between waterings. Overwatering can lead to root rot, so be sure to check the moisture level of your soil regularly.
Temperature and Humidity
Chives prefer moderate temperatures, ideally between 60 and 70 degrees Fahrenheit (15 and 21 degrees Celsius). Avoid placing your container in areas that are too hot or too cold, such as near radiators or air conditioning vents. Chives also prefer moderate humidity, so be sure to avoid placing them in areas that are too dry, such as near heaters or in direct sunlight.
Fertilisation and Pruning
While chives don’t require a lot of fertiliser, they can benefit from a light feeding every 4-6 weeks during the growing season. Use a balanced fertiliser with equal parts nitrogen, phosphorus, and potassium, or a fertiliser specifically designed for herbs.
To keep your chives healthy and productive, it’s important to prune them regularly. Pruning encourages new growth and prevents your plants from becoming too leggy. When pruning, use sharp, clean scissors or shears to snip off the top 2 inches (5 centimeters) of growth, being careful not to cut too close to the base of the plant.
Pests and Diseases
While chives are relatively pest and disease resistant, they can still be affected by common issues such as aphids, spider mites, and fungal diseases. To prevent these issues, be sure to keep your plants clean and free of debris, and avoid overwatering. If you do notice pests or signs of disease, treat your plants immediately with an organic insecticide or fungicide.
Harvesting Your Chives
One of the benefits of growing chives indoors is that you can harvest them year-round. Chives are typically ready for harvesting about 60 days after planting, and can be harvested continuously throughout the growing season.
To harvest your chives, simply snip off the leaves at the base of the plant using sharp, clean scissors or shears. Be sure to leave at least 2 inches (5 centimeters) of growth so that the plant can continue to produce new leaves.
When harvesting, it’s important to avoid removing more than 1/3 of the plant at a time, as this can weaken the plant and affect its growth. It’s also important to avoid harvesting too much during the winter months, as this can weaken the plant and make it more susceptible to disease.

Storing Your Chives
Fresh chives can be stored in the refrigerator for up to a week, but if you have an abundance of chives, you may want to consider preserving them for later use.
One popular method for preserving chives is to freeze them. To do this, simply wash your chives and pat them dry, then chop them into small pieces and place them in a freezer bag or container. Label and date the container, and store it in the freezer for up to six months.
Another option is to dry your chives. To do this, tie your chives into small bundles and hang them upside down in a warm, dry area with good air circulation. Once your chives are dry and crispy, remove the leaves from the stems and store them in an airtight container in a cool, dry place.
Conclusion
Growing chives indoors is a great way to enjoy fresh herbs year-round, and with a little bit of care and attention, you can have a healthy and productive herb garden in the comfort of your own home. Whether you’re a seasoned gardener or a beginner, chives are a great herb to start with, and with the right container, soil, and care, you can enjoy a steady supply of fresh chives for use in a variety of dishes. So why not give it a try? You may be surprised at just how easy it is to grow chives indoors!