Kale is a leafy green vegetable that has become increasingly popular over the last few years due to its numerous health benefits. It is high in antioxidants, vitamins, and minerals, making it a great addition to any diet. One of the great things about kale is that it can be grown indoors, making it a perfect option for people who live in apartments, have limited outdoor space, or live in areas with harsh weather conditions. In this article, we will go over everything you need to know about growing kale as an indoor plant.

Table of Contents
Choosing the Right Kale Variety
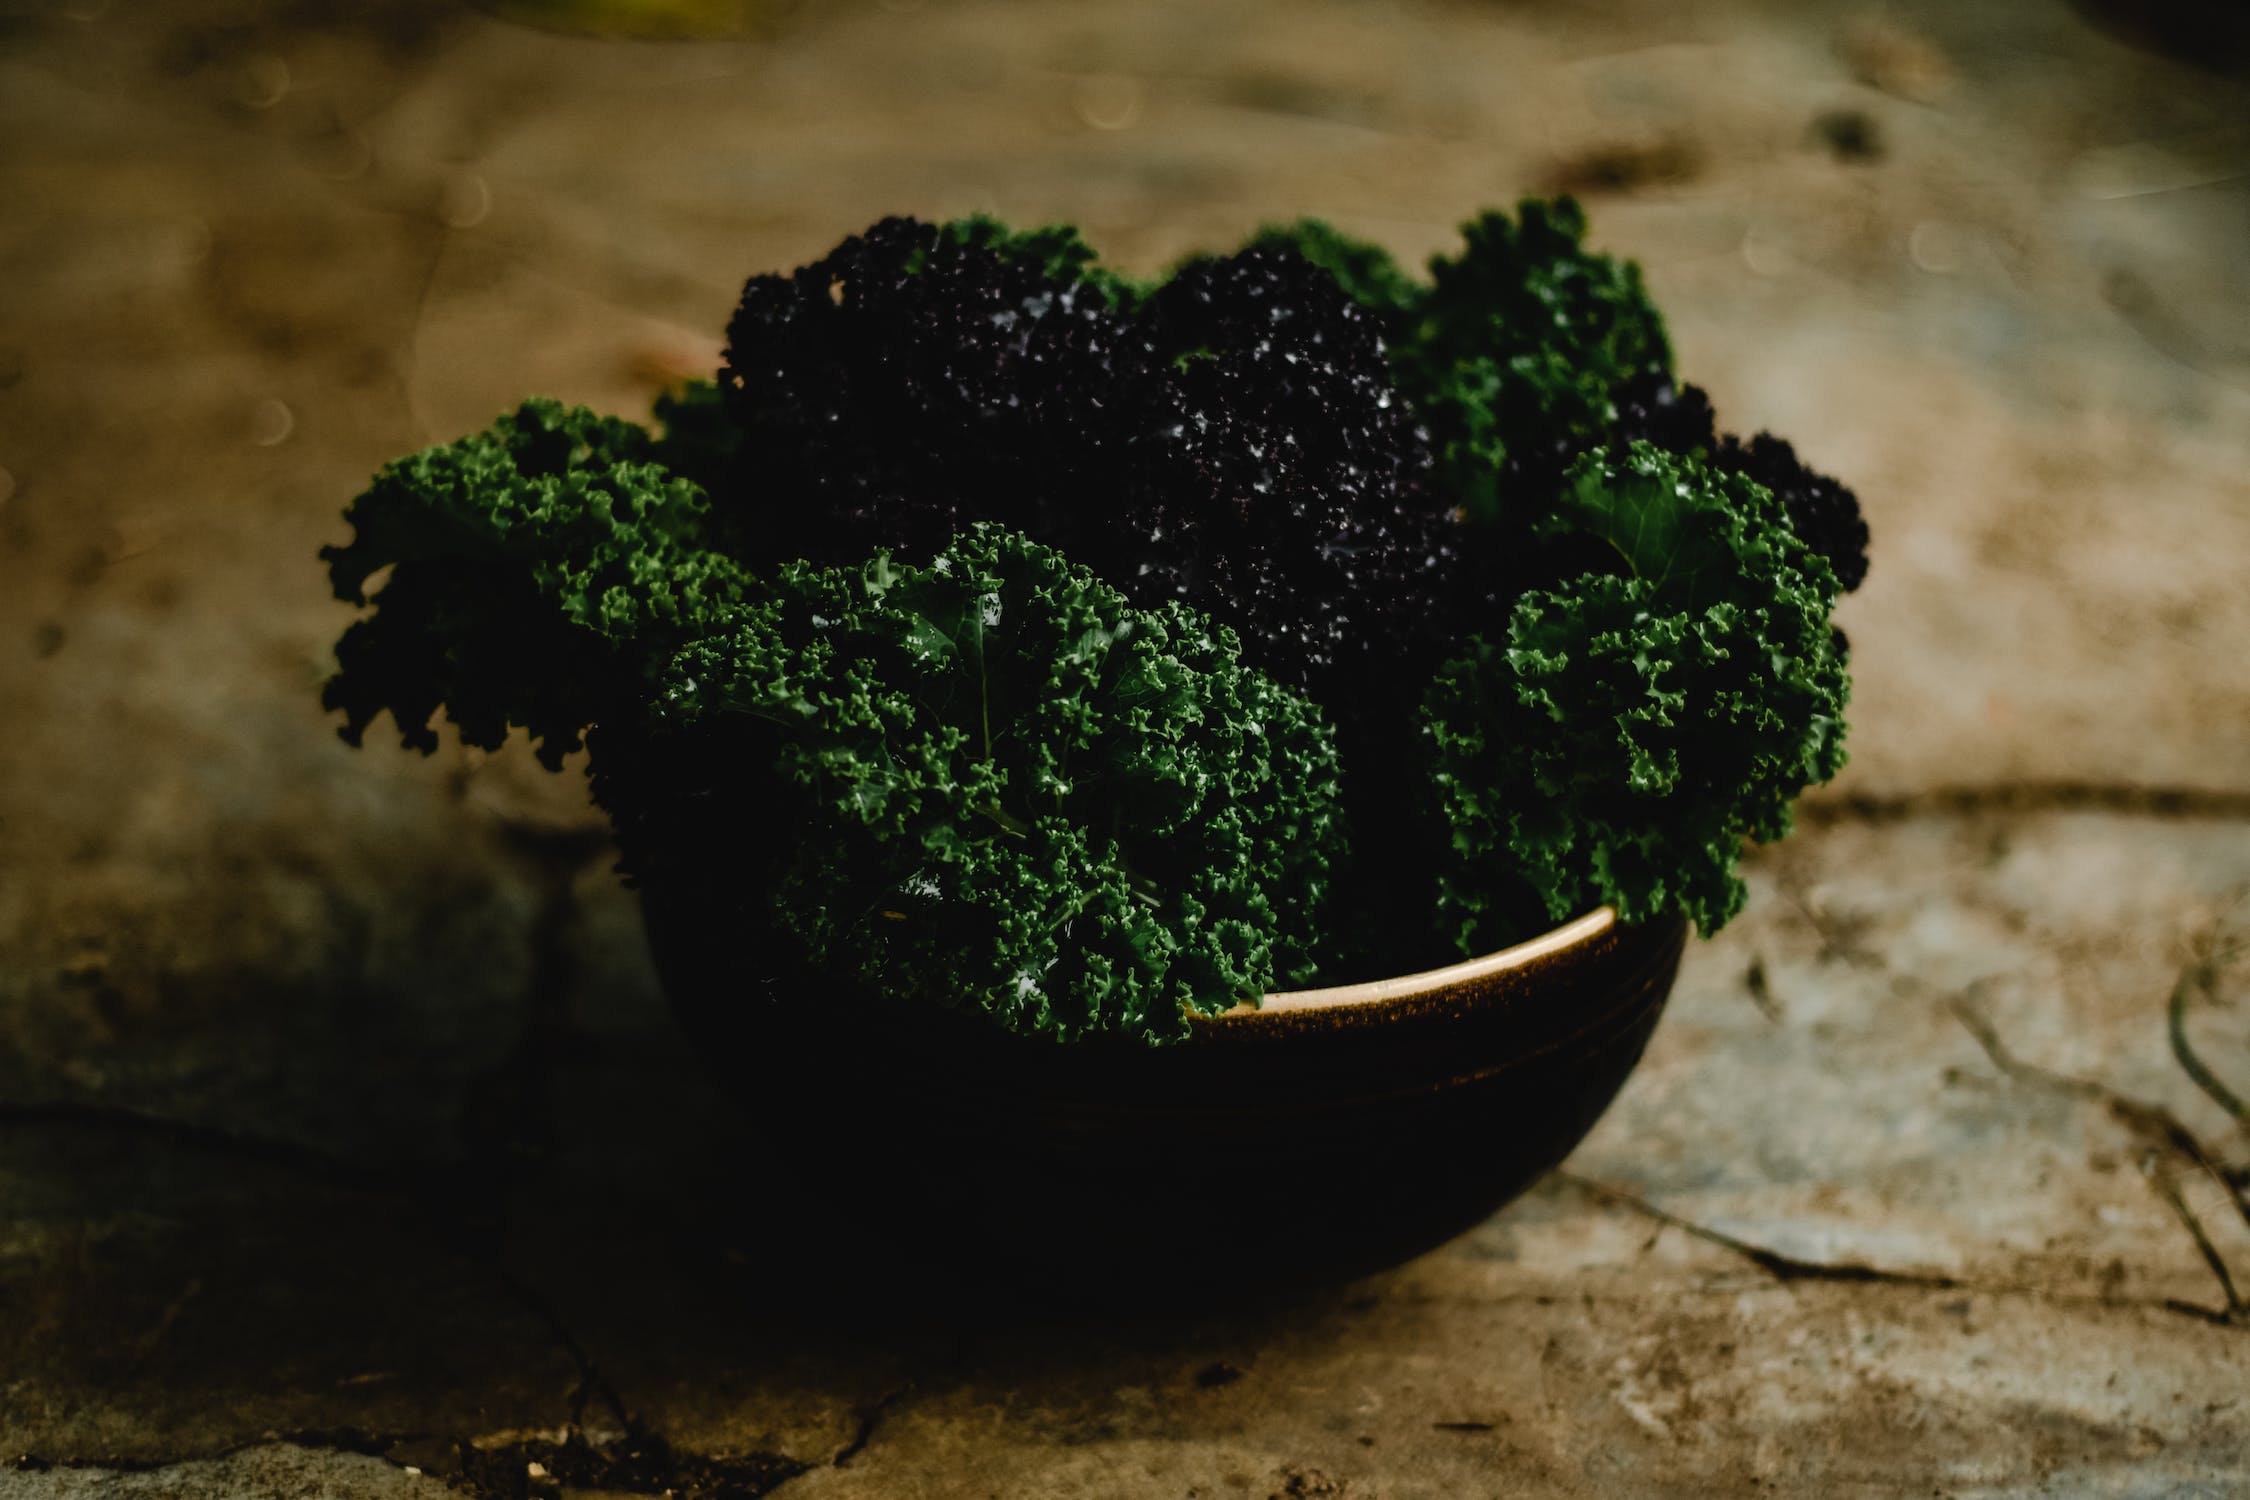
Before you start growing kale, it is essential to choose the right variety for your indoor garden. There are many different types of kale, and each has its unique features. Some of the most popular kale varieties include curly kale, dinosaur kale, and red kale.
Curly kale is the most commonly grown kale variety and is often used in salads and smoothies. Dinosaur kale, also known as Lacinato kale, has long, narrow leaves and a sweeter taste than curly kale. Red kale has a beautiful purple colour and is often used in salads and garnishes.
When choosing a kale variety for indoor growing, it is important to consider the size of the plant. Some varieties, such as curly kale, can grow quite large, so it is essential to make sure you have enough space for the plant to grow.
Preparing the Soil
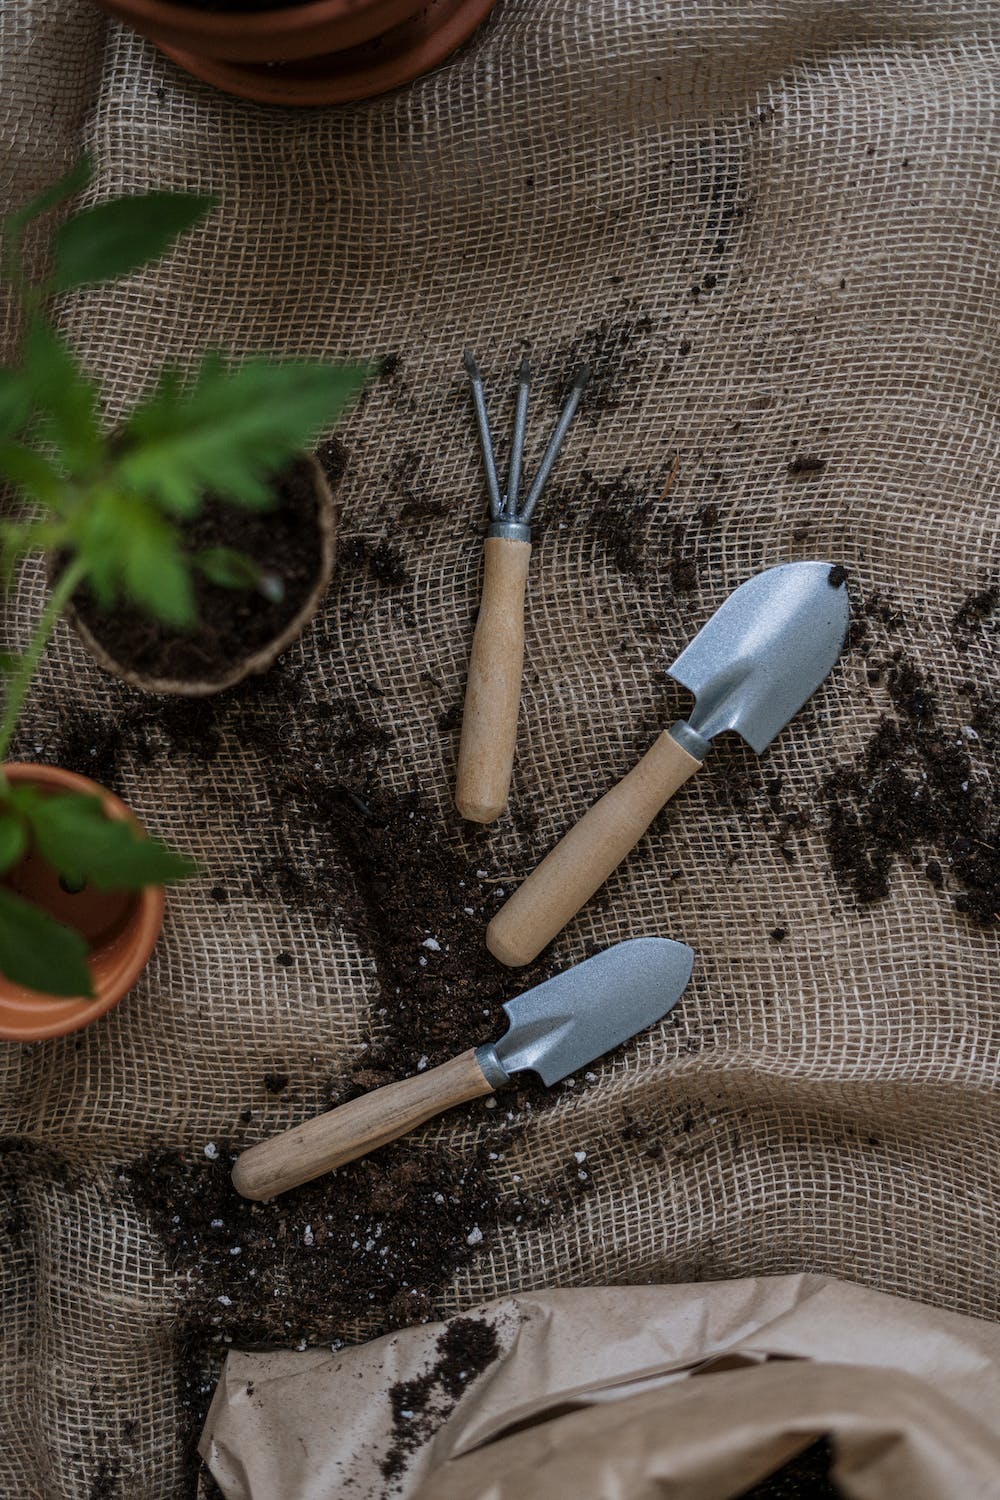
Once you have chosen the right kale variety, it is time to prepare the soil. Kale grows best in well-draining soil that is rich in nutrients. You can either purchase a pre-made potting mix or make your own by combining equal parts of perlite, vermiculite, and peat moss. It is essential to make sure the soil is moist but not too wet before planting your kale seeds. You can achieve this by adding water to the soil until it is slightly damp.
Planting Kale Seeds
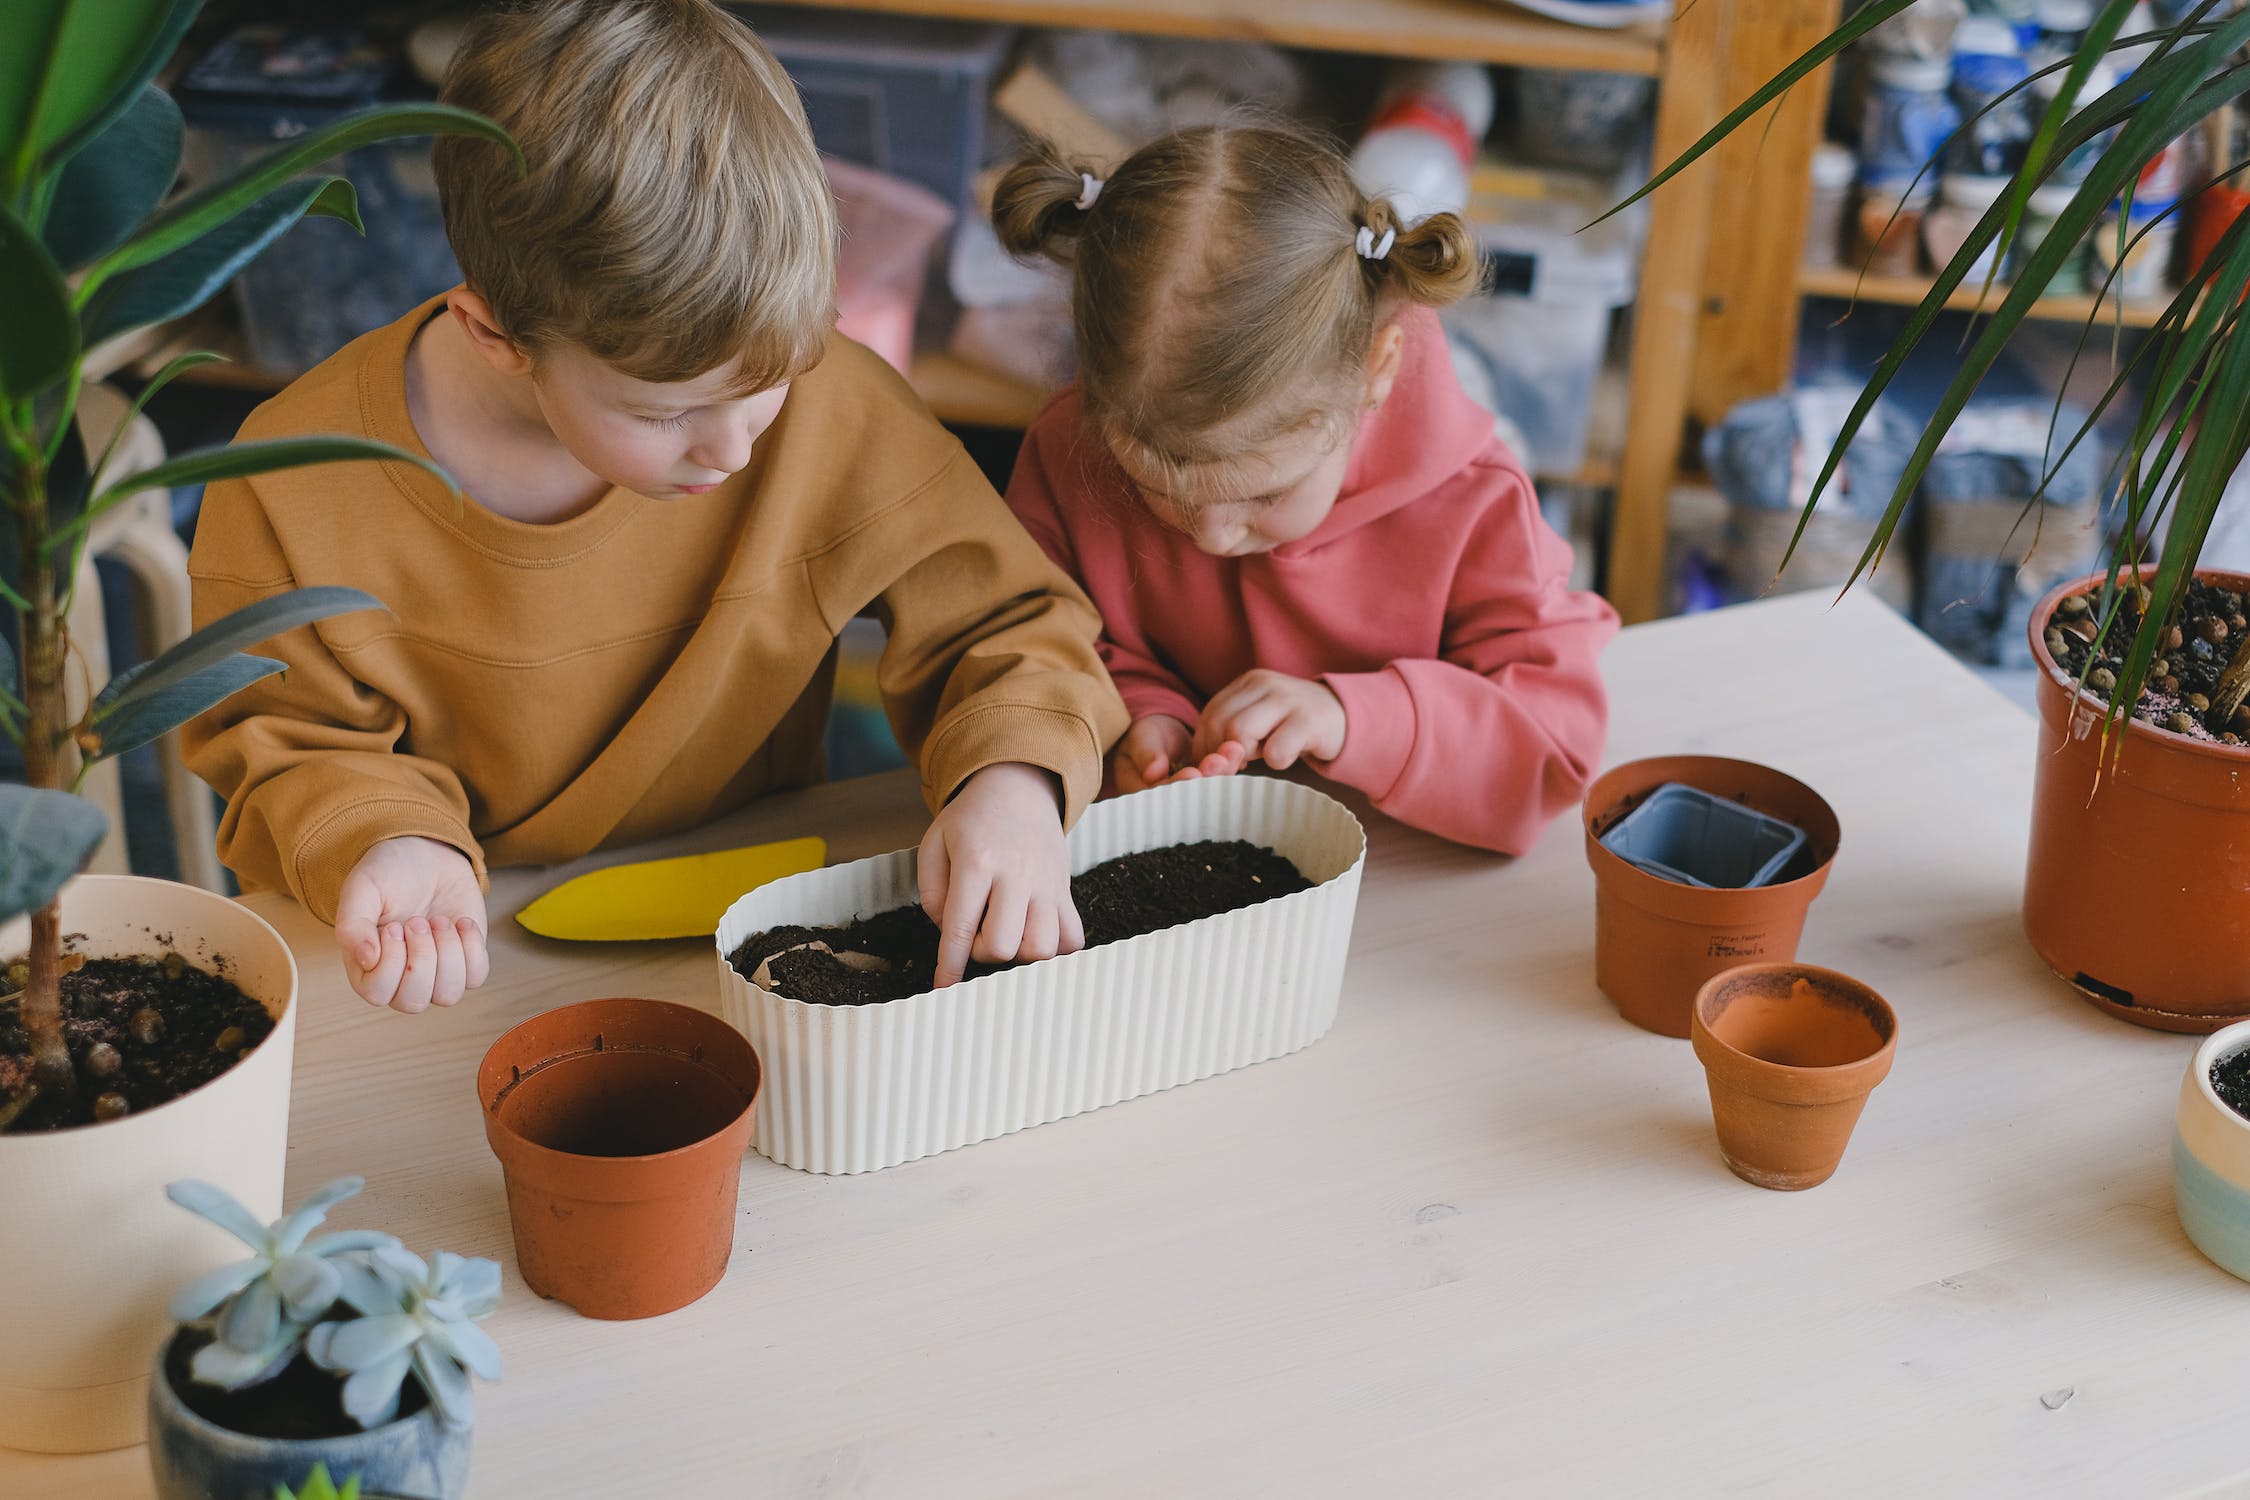
Now that your soil is ready, it is time to plant your kale seeds. You can either start your seeds indoors or purchase seedlings from a local nursery. If you choose to start your seeds indoors, it is best to do so about 6 to 8 weeks before the last frost date in your area.
To plant your seeds, create small holes in the soil about 1/4 inch (0.6 centimetres) deep and 3 inches (7 centimetres) apart. Place one seed in each hole and cover with soil. Water the soil lightly to ensure that the seeds are moist.
It is important to note that kale seeds can take anywhere from 5 to 14 days to germinate, so be patient and continue to water the soil regularly. Once your kale seedlings have reached about 2 inches (5 centimetres) in height, it is time to transplant them into larger pots.
Transplanting Kale Seedlings
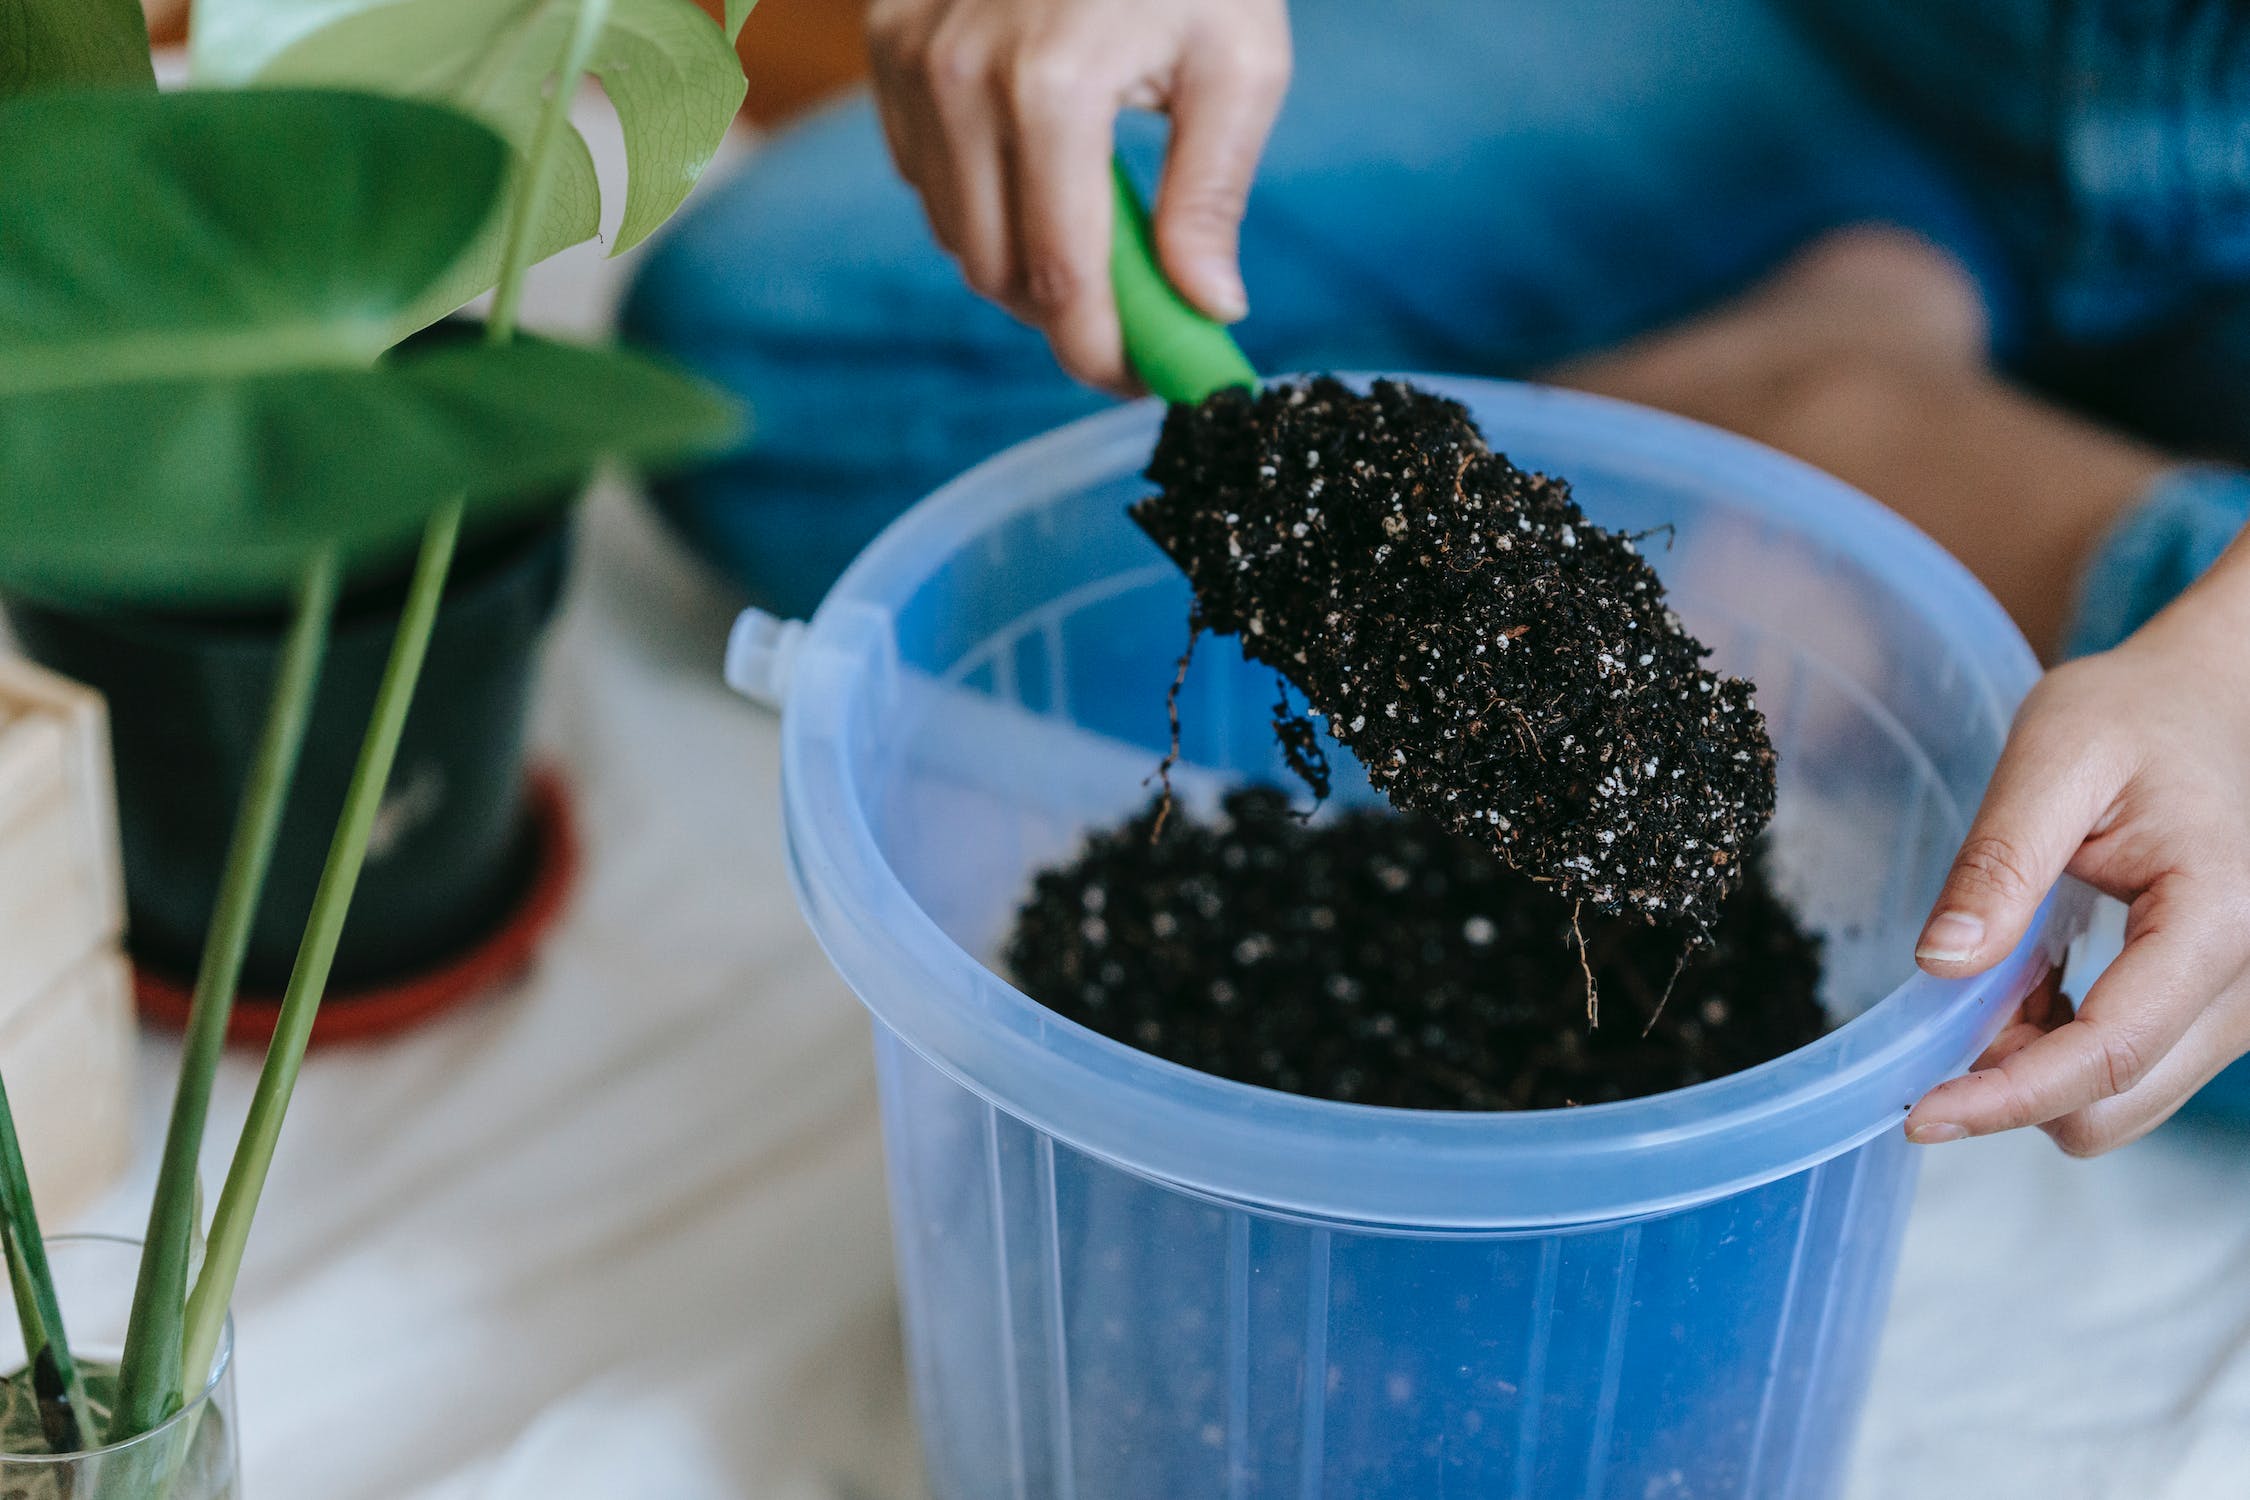
When transplanting your kale seedlings, it is essential to choose a pot that is at least 12 inches (30 centimetres) deep and wide. This will give your plants enough room to grow and develop a strong root system. Fill the pot with soil and create a small hole in the center.
Carefully remove your kale seedling from its original pot and place it in the hole in the center of the new pot. Cover the roots with soil and gently pat down. Water the soil lightly to ensure that the plant is moist.
It is important to note that kale plants prefer cooler temperatures, so it is best to place your pot in a cooler part of your home, away from direct sunlight. Kale plants also require at least 6 hours of sunlight each day, so it is essential to place your pot near a window that receives plenty of natural light.
Watering and Fertilising Your Kale Plant
Once your kale plant has been transplanted, it is important to water it regularly to ensure that the soil stays moist. It is best to watering your kale plant when the soil feels dry to the touch, but be careful not to overwater as this can lead to root rot.
In addition to watering, it is important to fertilise your kale plant regularly to ensure that it receives the nutrients it needs to grow. You can use a balanced fertiliser every two to three weeks, or a slow-release fertiliser once a month.
Harvesting Your Kale
Kale plants typically take about 50 to 70 days to mature, depending on the variety. Once your kale plant has reached its mature size, it is time to start harvesting.
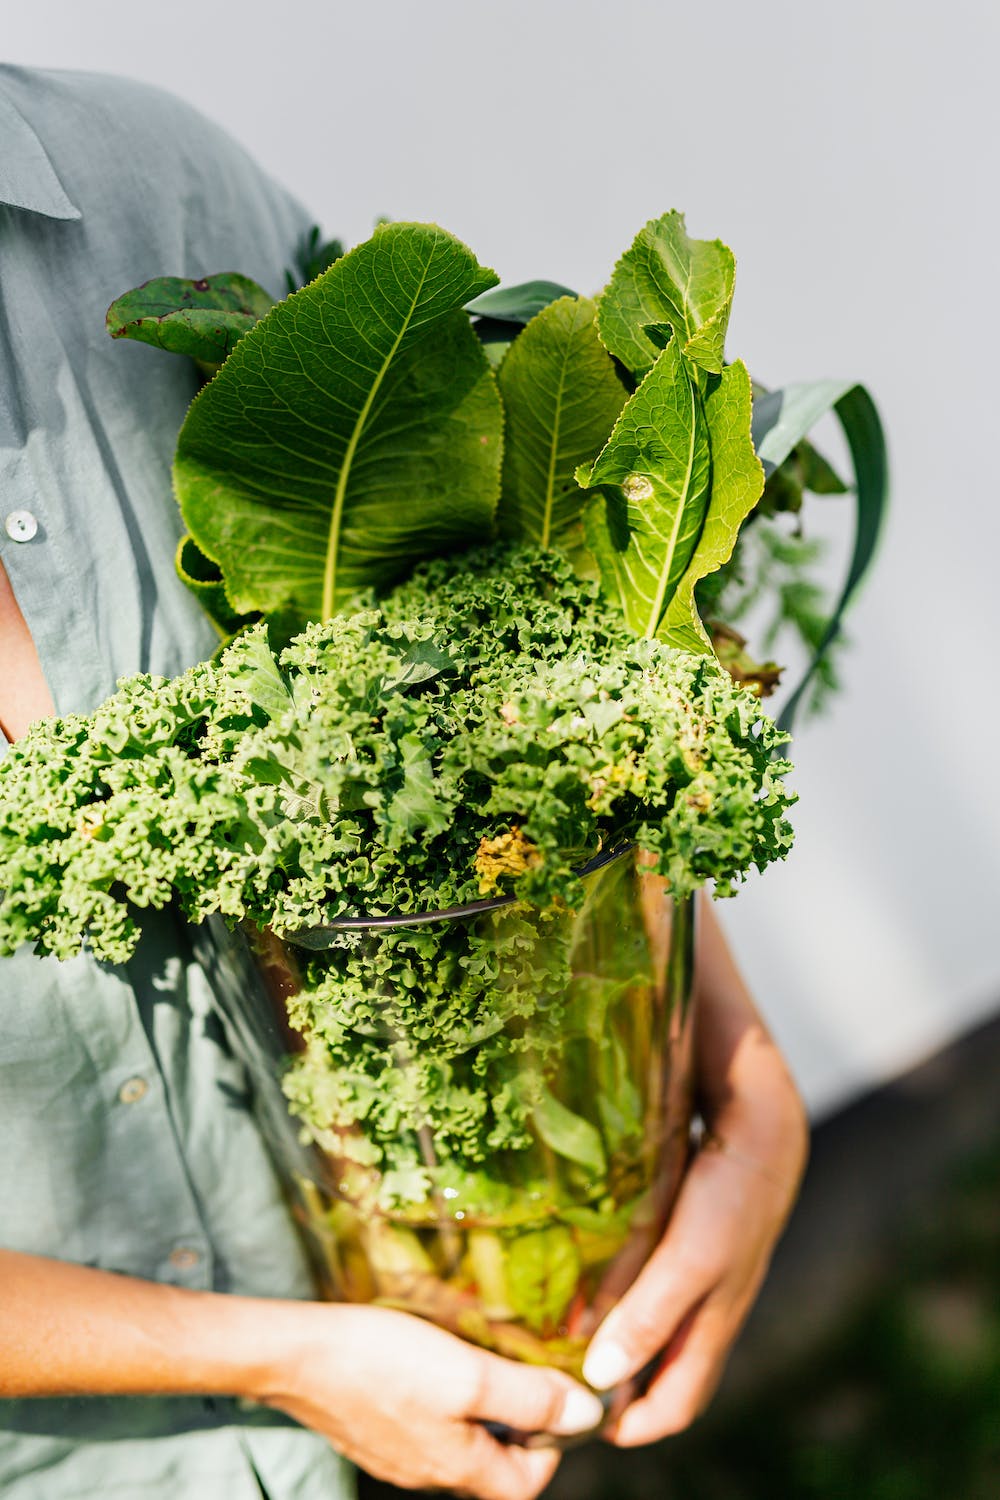
To harvest your kale, simply cut the outer leaves of the plant, leaving the inner leaves to continue growing. This will allow your plant to continue producing new leaves, giving you a constant supply of fresh kale.
It is important to note that kale leaves are best harvested when they are young and tender, as older leaves can be tough and bitter. If you notice that your kale leaves are starting to turn yellow or brown, it is time to harvest them before they become too tough.
Common Problems with Growing Kale Indoors
Like any plant, kale can be susceptible to certain pests and diseases when grown indoors. Some common problems you may encounter when growing kale include:
- Aphids: These small, sap-sucking insects can cause damage to your kale plants by feeding on the leaves. You can control aphids by spraying your plants with a solution of water and dish soap.
- Powdery mildew: This fungal disease can cause a white, powdery coating to appear on your kale leaves. To prevent powdery mildew, make sure your plants have good air circulation and avoid watering the leaves.
- Root rot: Overwatering your kale plant can lead to root rot, which can be fatal to your plant. To prevent root rot, make sure the soil is well-draining and water your plant only when the soil feels dry to the touch.
- Pests: Other common pests that can damage your kale plant include spider mites, whiteflies, and cabbage loopers. You can control these pests by using natural pest control methods or by using insecticidal soap.
Conclusion
Growing kale as an indoor plant is a great way to enjoy fresh, nutritious greens all year round. With the right soil, lighting, and watering, you can easily grow kale in the comfort of your own home. By following the steps outlined in this article, you can ensure that your kale plants thrive and produce a constant supply of delicious, healthy greens. So why not give it a try and start growing your own kale today?